Ayuda con la minería
How to Install and run the NiceHash ASIC Manager?
Installing the NiceHash ASIC Manager:
- Download the ASIC Manager from the Download Center.
- Run the file and install it on your local network Windows machine.
Note: make sure the NiceHash ASIC Manager is installed on a Windows machine that is connected to the same local network as the ASICs. - The NiceHash ASIC manager should start automatically after installation, otherwise start the NiceHash ASIC Manager via the Desktop shortcut.
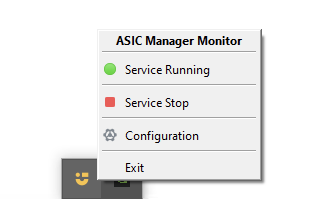
- Configure the NiceHash ASIC manager by right-clicking on the NiceHash ASIC Manager Monitor icon found in the taskbar.
Scanning the network
- Right-click on the NicehHash ASIC Manager Monitor icon found in the taskbar.
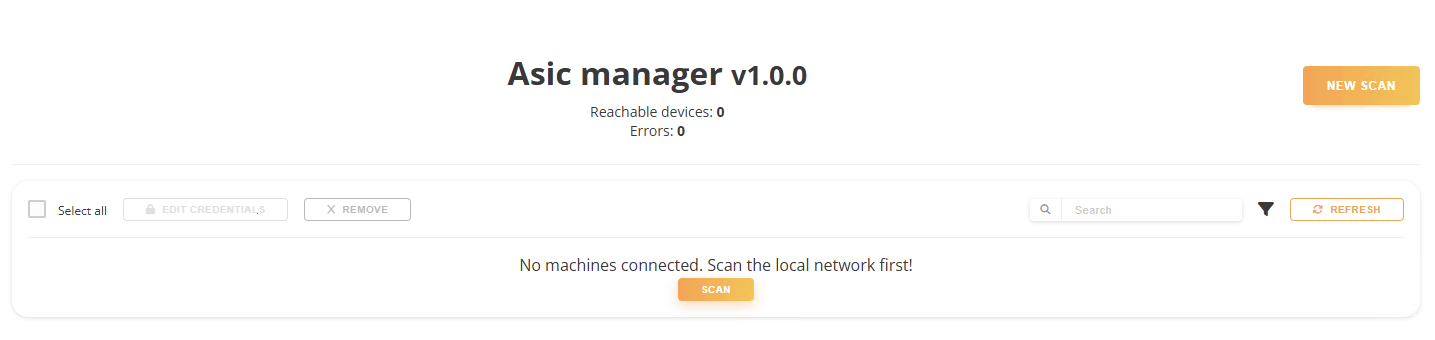
- Left-click on the Configuration button to open the ASIC Manager Scan options in your browser.
- Click on the NEW SCAN button.
- Configure the scan parameters:
- Select network: Select your network range
- Port: Port number for accessing devices. Default is normally the correct one
- ASIC Manufacturer: leave blank to search for all Manufacturers or select a specific one
- Username and Password: The credentials of your ASIC machines. - Select the devices and click APPLY.
- Confirm the action by clicking OK when prompted.
- Check the new ASIC data available in your NiceHash Rig Manager.
Tip: The default username and password combinations are: Bitmain: root/root, Caanan: root/root, IceRiver: admin/12345678, iPollo: root/root, MicroBT: admin/admin
Note: a new scan must be performed when adding new ASICs to the network.
Starting and Stopping the ASIC Manager
Once you have created the configuration with the scan tool, you can stop or start the ASIC Manager by right-clicking on the ASIC Manager taskbar icon and selecting Service Start or Service Stop or close the ASIC Manager by selecting Exit.
The current configuration and logs are saved even if the ASIC manager is stopped or closed.
Minería
Este sitio web utiliza cookies para garantizar que obtenga la mejor experiencia en nuestro sitio.