How to flash a motherboard BIOS?
If you are a GPU miner who wants a stable mining rig it is crucial to have a good motherboard for the job. A lot of troubles with multiple GPU setups can be resolved by turning on the correct motherboard settings. But sometimes settings alone cannot provide you with optimal results. In many cases, you have to flash your motherboard BIOS.
BIOS stands for Basic Input Output System. It is a software that is programmed on a small memory chip on the motherboard. This firmware usually supports flashing the BIOS from a file on a CD or USB flash drive. Flashing the BIOS is similar to updating the software on your operating system but it's a different process because the BIOS software is stored, not on the hard drive, but rather on a chip on the motherboard.
There are multiple reasons NOT to flash the motherboard BIOS. But as a miner, you will probably need to do it because you cannot make your motherboard recognize your 6th or 7th graphic card or you have bought the latest CPU which is not supported by your current BIOS version, but it is supported with a new BIOS version. If everything works fine, you are recommended NOT to update your BIOS.
DISCLAIMER: Before proceeding, you must understand that by doing a BIOS flash you could brick your motherboard and you will not be able to use it anymore. Also, in most cases, the warranty is voided by doing so. We do not take any responsibilities if you happen to brick your motherboard.
There are 2 important things to be careful about when performing the BIOS flash:
1. Pick the exact BIOS for your motherboard from the official source!
2. DO NOT turn off your PC during the flashing procedure!
These are the two most risky steps when flashing. Everything else is not critical for your motherboard.
Step 1: Find the right BIOS
The easiest way to find your motherboard BIOS is to navigate to a manufacturer’s website and search for your motherboard model name or the motherboard product page. If you have a motherboard box, check for the EAN or serial number to find the exact model - different motherboards can have the same model name but different revision numbers. Make sure you double-check for the revision (or version) number. Here is the ASUS example.
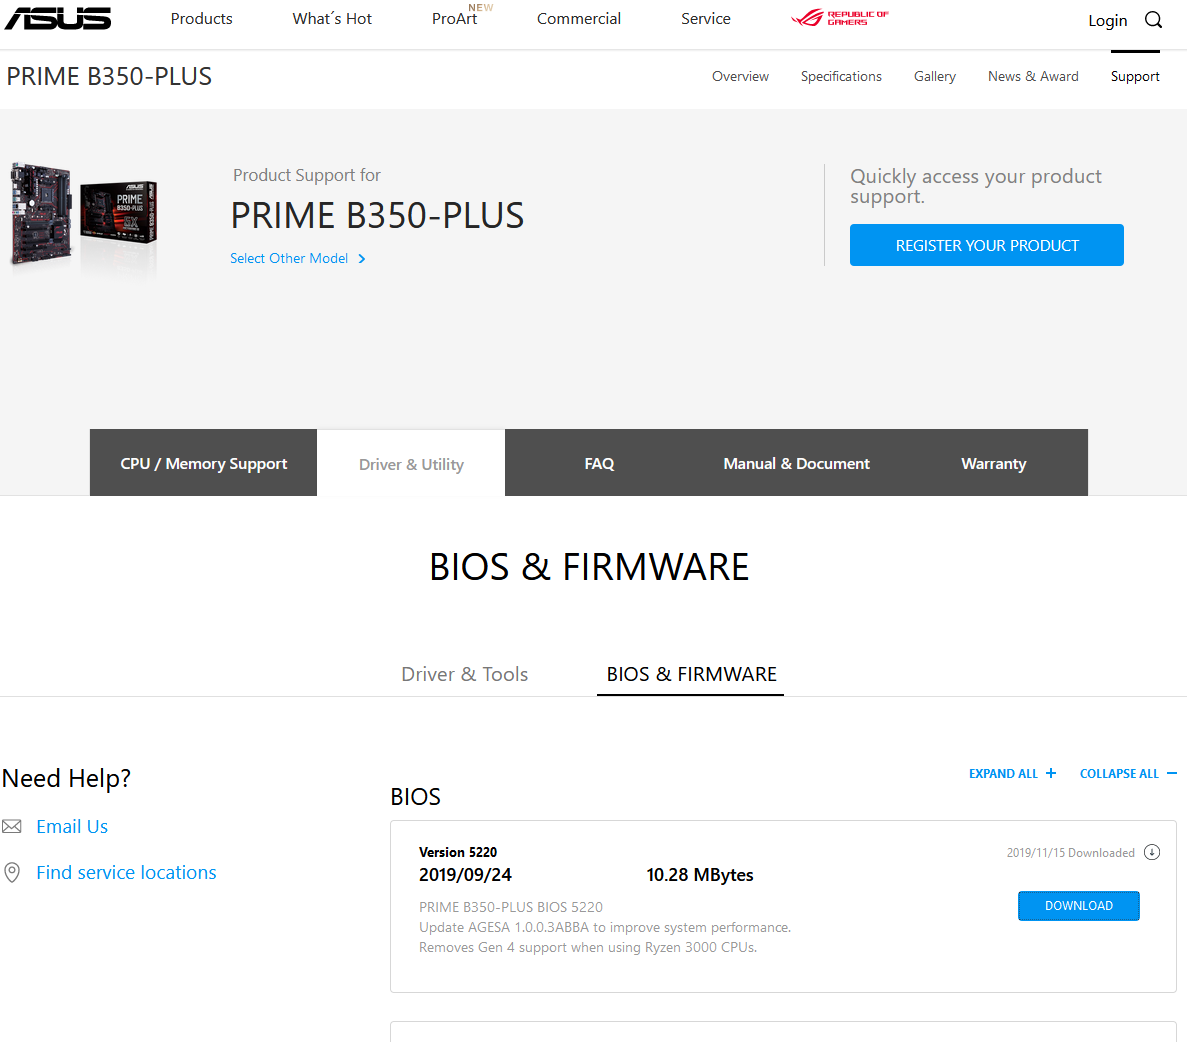
Step 2: Downloading the BIOS
You should download the latest release. Also, triple-check if you are downloading the correct BIOS for your model (and revision)! If you flash the wrong BIOS you might brick your motherboard.
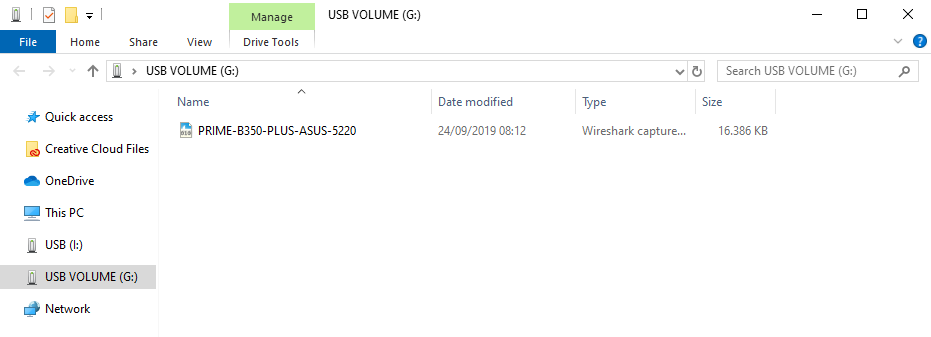
Copy the content on to your USB flash drive. We suggest that you have a clean USB, without other files on it (FAT32 format).
Step 3: Flashing the BIOS
For the purpose of this guide, we are using the ASUS motherboard. If you are using any other motherboard from a different manufacturer the process might be similar but you will see different screens. Use this guide only as a reference.
1. Copy the downloaded file to a USB flash drive.
2. Once you copied the BIOS to your USB flash drive, restart the PC. While the PC starts, keep tapping the END or F12 button on your keyboard until you reach BIOS. Here you can check for your exact motherboard model and current BIOS version. Select Advanced Mode or press F7.

3. Navigate to the Tool tab and select Flash 3 Utility. Note that this step will be slightly different for each motherboard manufacturer.

4. Select via Storage Device update method.

5. Locate the .CAP file on your storage device and select it.

6. Check the BIOS file you are about to flash and click YES if it is correct. After you click YES the flashing will start.

DO NOT shut down your PC while flashing your BIOS! This can cause your motherboard to brick and it will become useless.
After the flashing is over your PC should restart with a fresh new BIOS.