How to change thermal paste on a GPU
When GPU has been mining for quite some time, or even if the GPU is a bit older, it is recommended to change the thermal paste between the GPU and the heatsink. The paste will harden over time and eventually, the GPU might overheat which could cause permanent damage to the GPU.
We recommend changing the thermal paste on GPUs that are at least 3 years old or older, second-hand GPUs and on GPUs that tend to overheat.
Disclaimer: NiceHash does not in any way take responsibility for any damage made to your GPU in the process of changing the thermal paste. Note that changing the thermal paste (disassembling the GPU) will void the warranty.
What thermal paste to buy?
When buying thermal paste, you should look for a thermal paste with high thermal conductivity. Thermal conductivity (W/mK) is the ability of a material to transfer heat. Higher conductivity means better cooling. The average thermal paste conductivity on stock coolers is around 8.5 W/mK. As long as you buy a thermal paste with conductivity above 8 W/mK, you should be good.
Step by step guide
Each GPU is a bit different. We will use an old, dusty Sapphire RX 570 4GB. The general process should be very similar to other models. It consists of:
- Disassembling the GPU.
- Removing the old thermal paste from the GPU and heatsink.
- Applying a new thermal paste.
- Reassembling the GPU and heatsink.
1. Disassembling the GPU
Before proceeding, note that you will void the warranty if you disassemble your GPU.
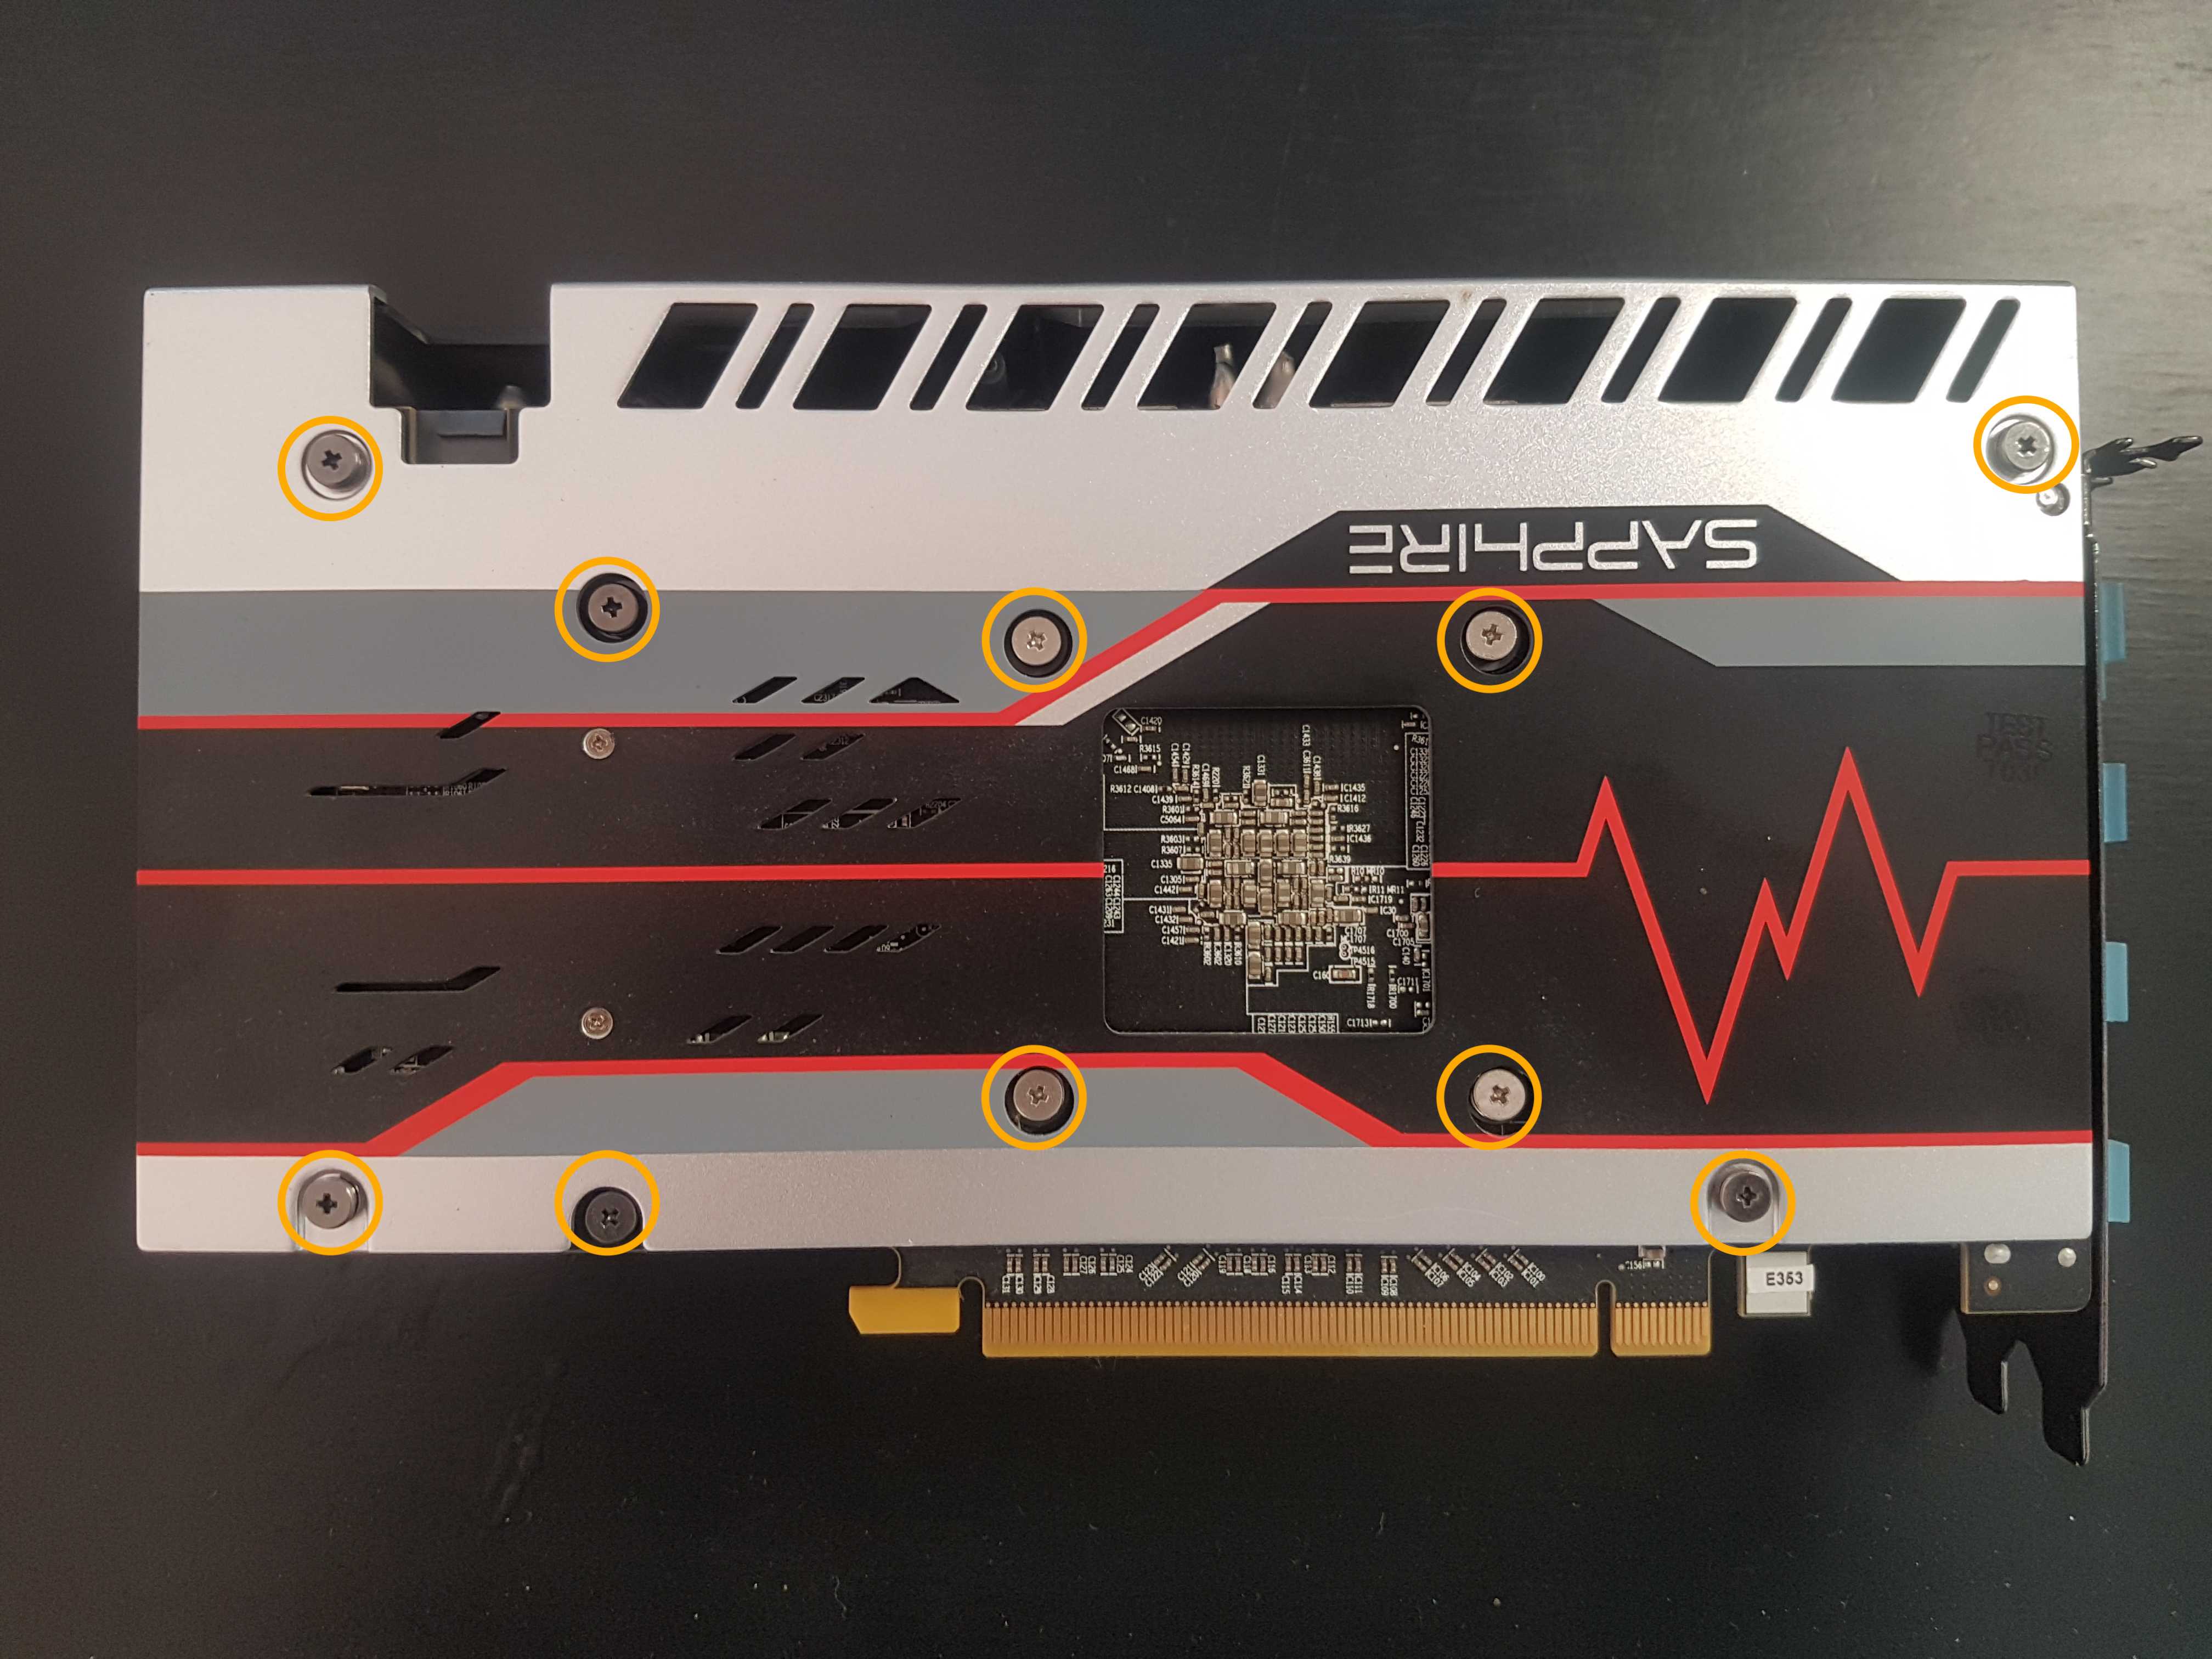
- Unscrew the screws that hold the board and heatsink together.
- Remember where each screw was on your backplate for when you will assemble it back together.
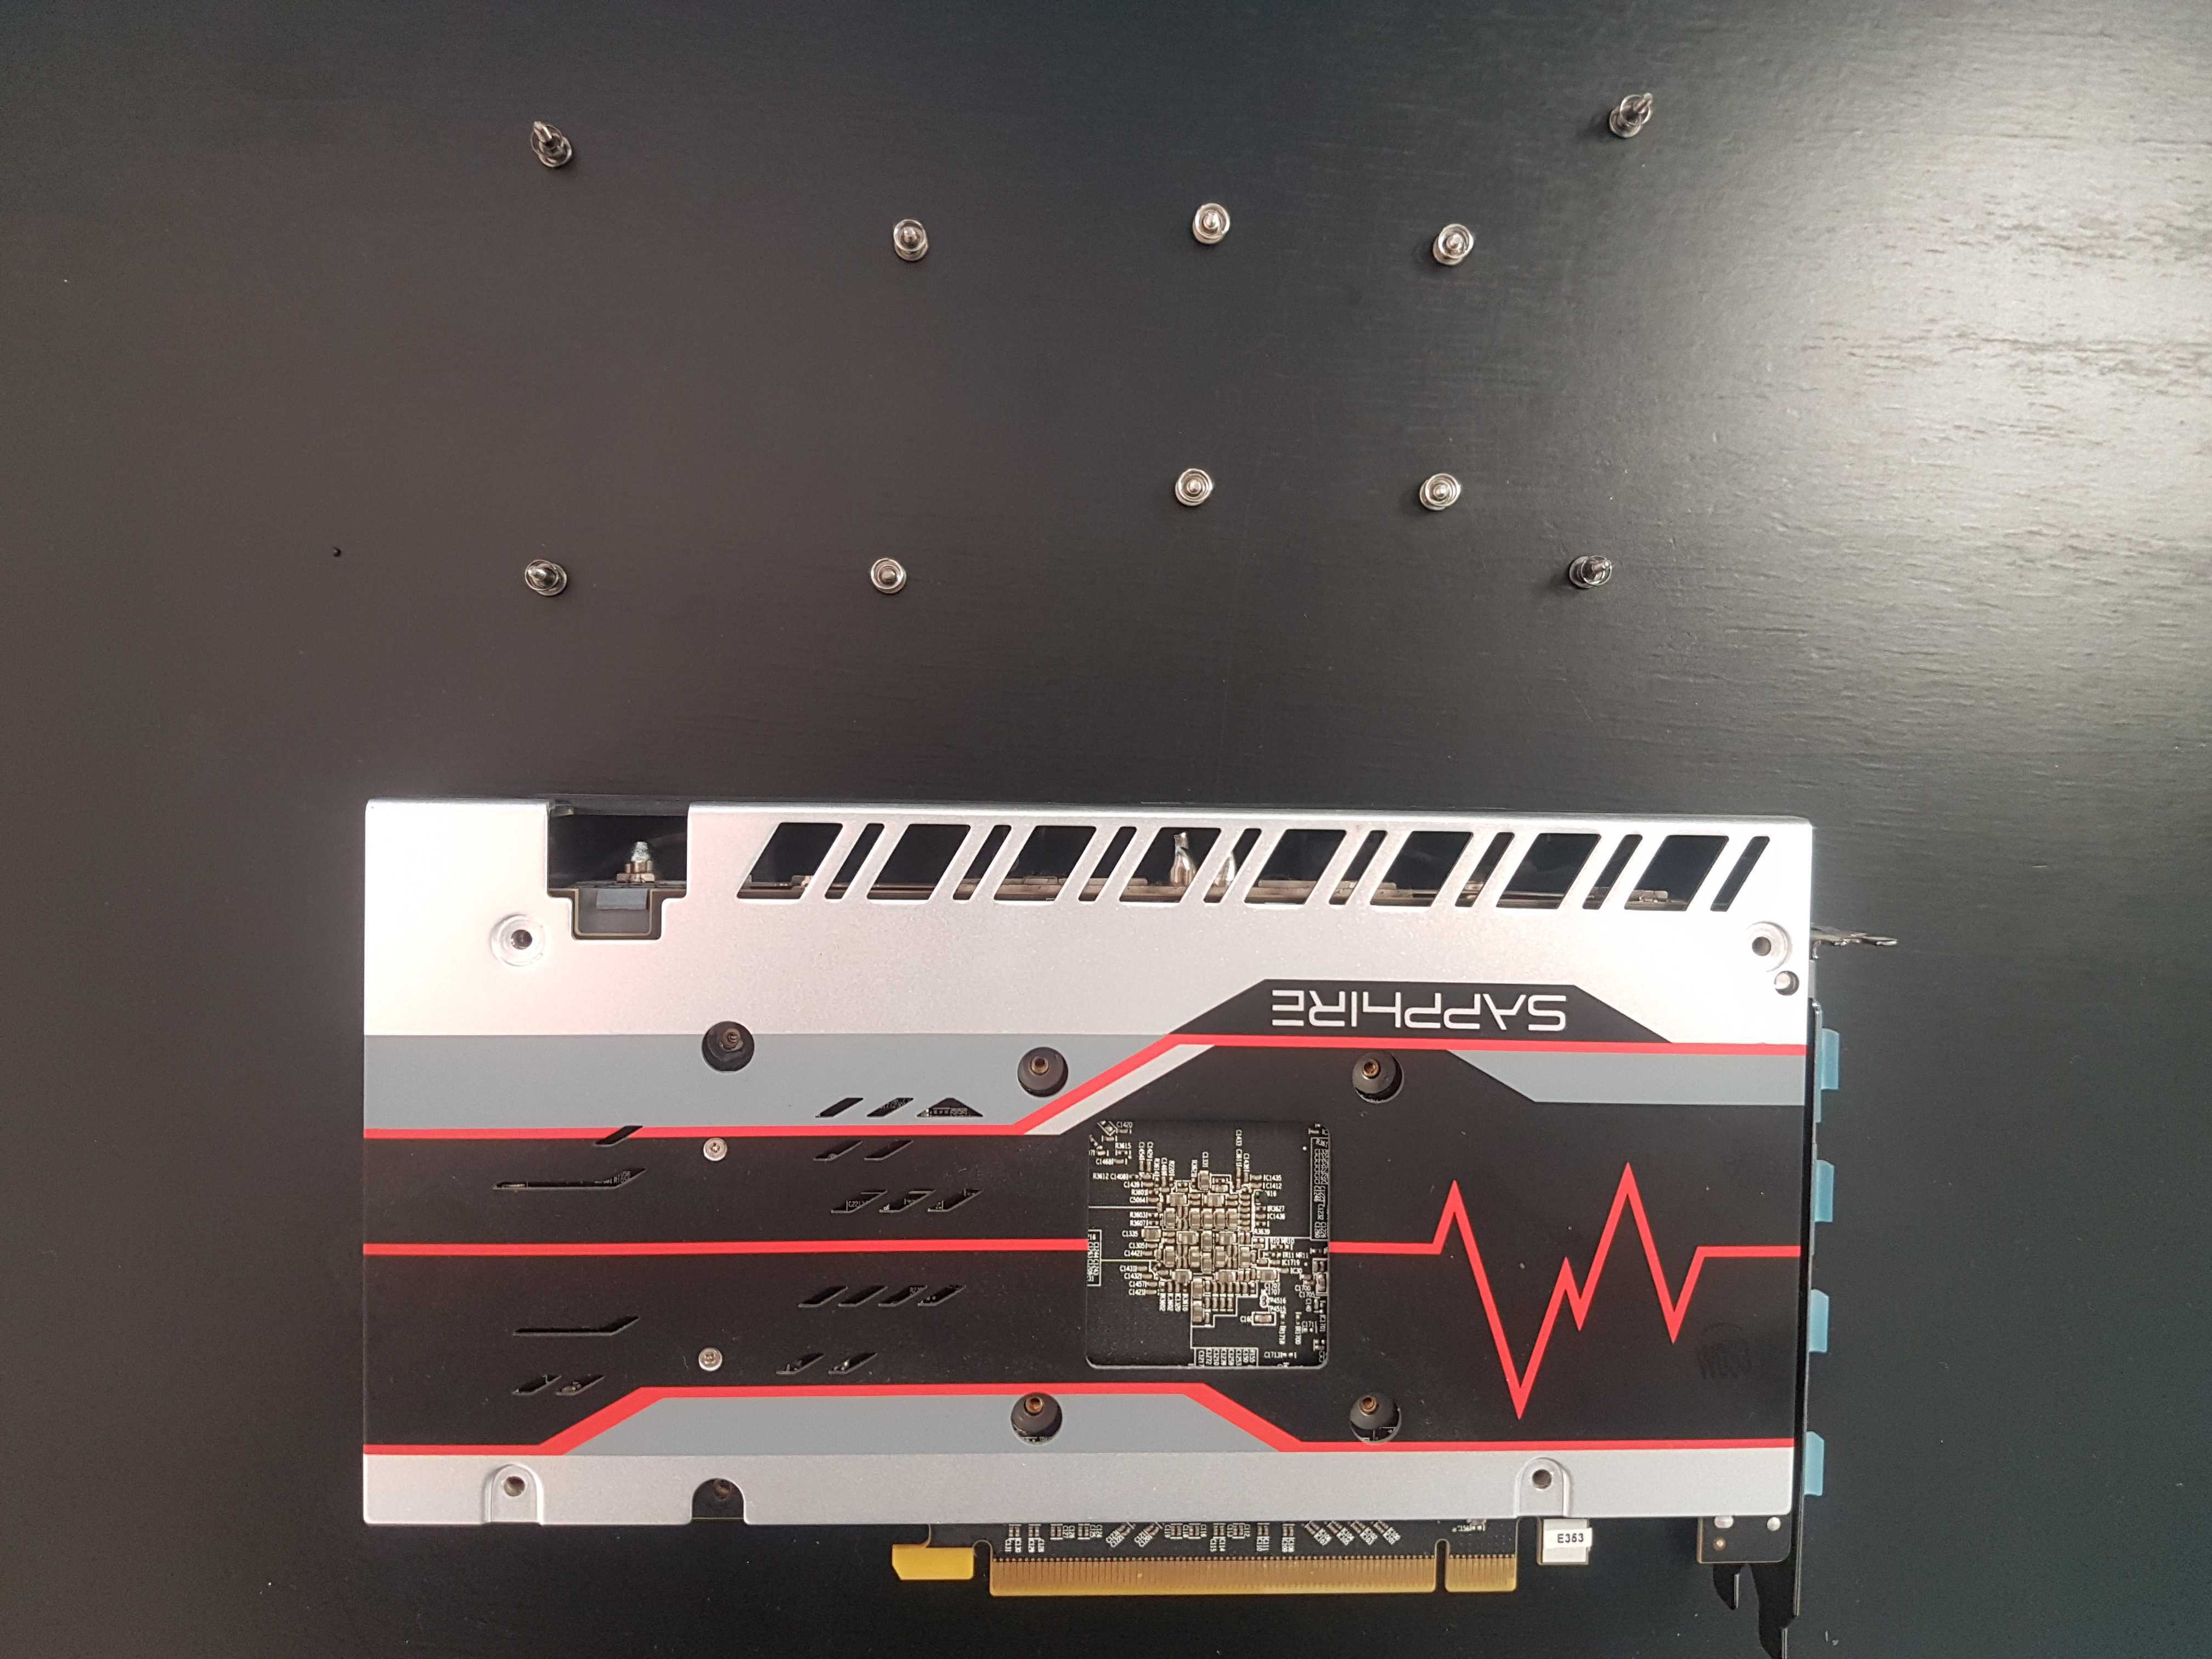
- Disconnect the fan cable.
- Remove the GPU cover with the fans.
- Remove the heatsink from the GPU.
- This might be a bit hard to do since the old thermal paste will keep the pieces together. Make sure you have unscrewed every screw, then gently pull the parts apart.
Clean the heatsink of any remaining dust that might be stuck to it.
Tip: When unscrewing the screws, place them so that they fit the holes on the GPU. This way, you will not misplace the screw in the wrong hole - it will be harder for you to screw it up. :)
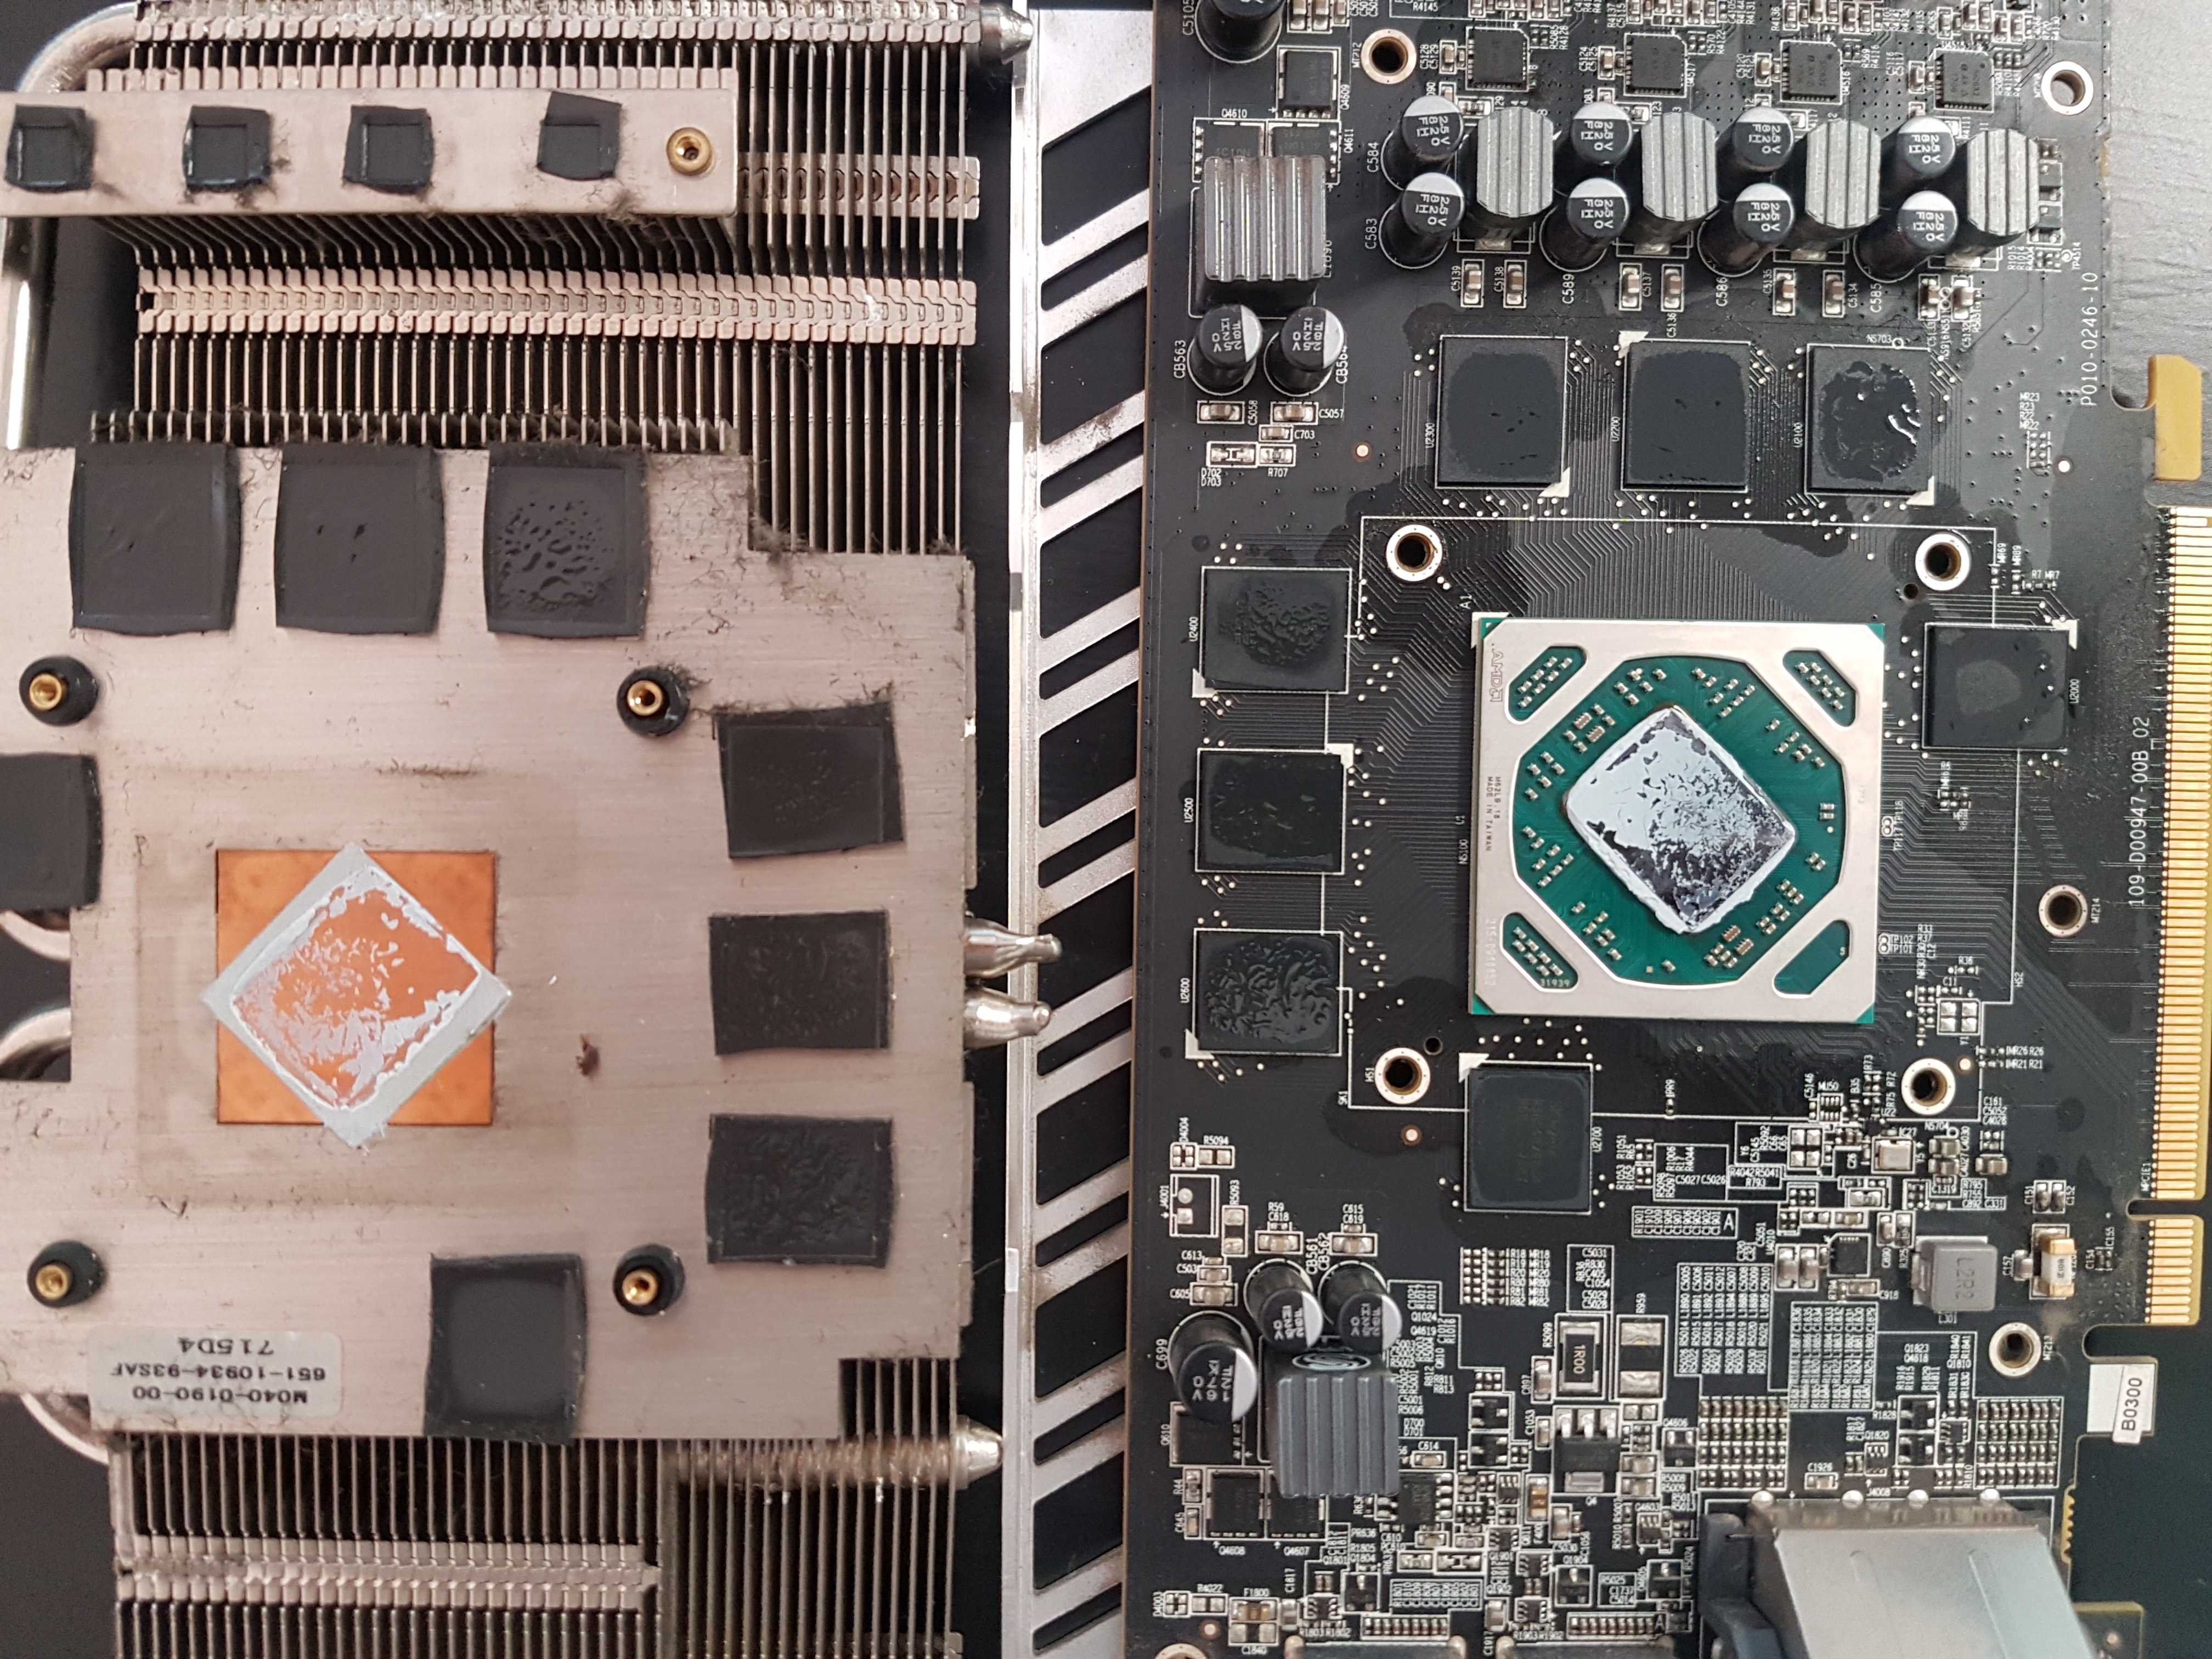
2. Removing the thermal paste
It is important to remove the old thermal paste before applying a new one. We recommend using at least 90% alcohol to remove the old paste. This will clean the thermal paste nicely.
- Pour just a little 90% alcohol on a paper tissue and gently clean the GPU and heatsink.
- Make sure that you remove all the paste.
- Be careful, do not apply too much pressure on the GPU chip.
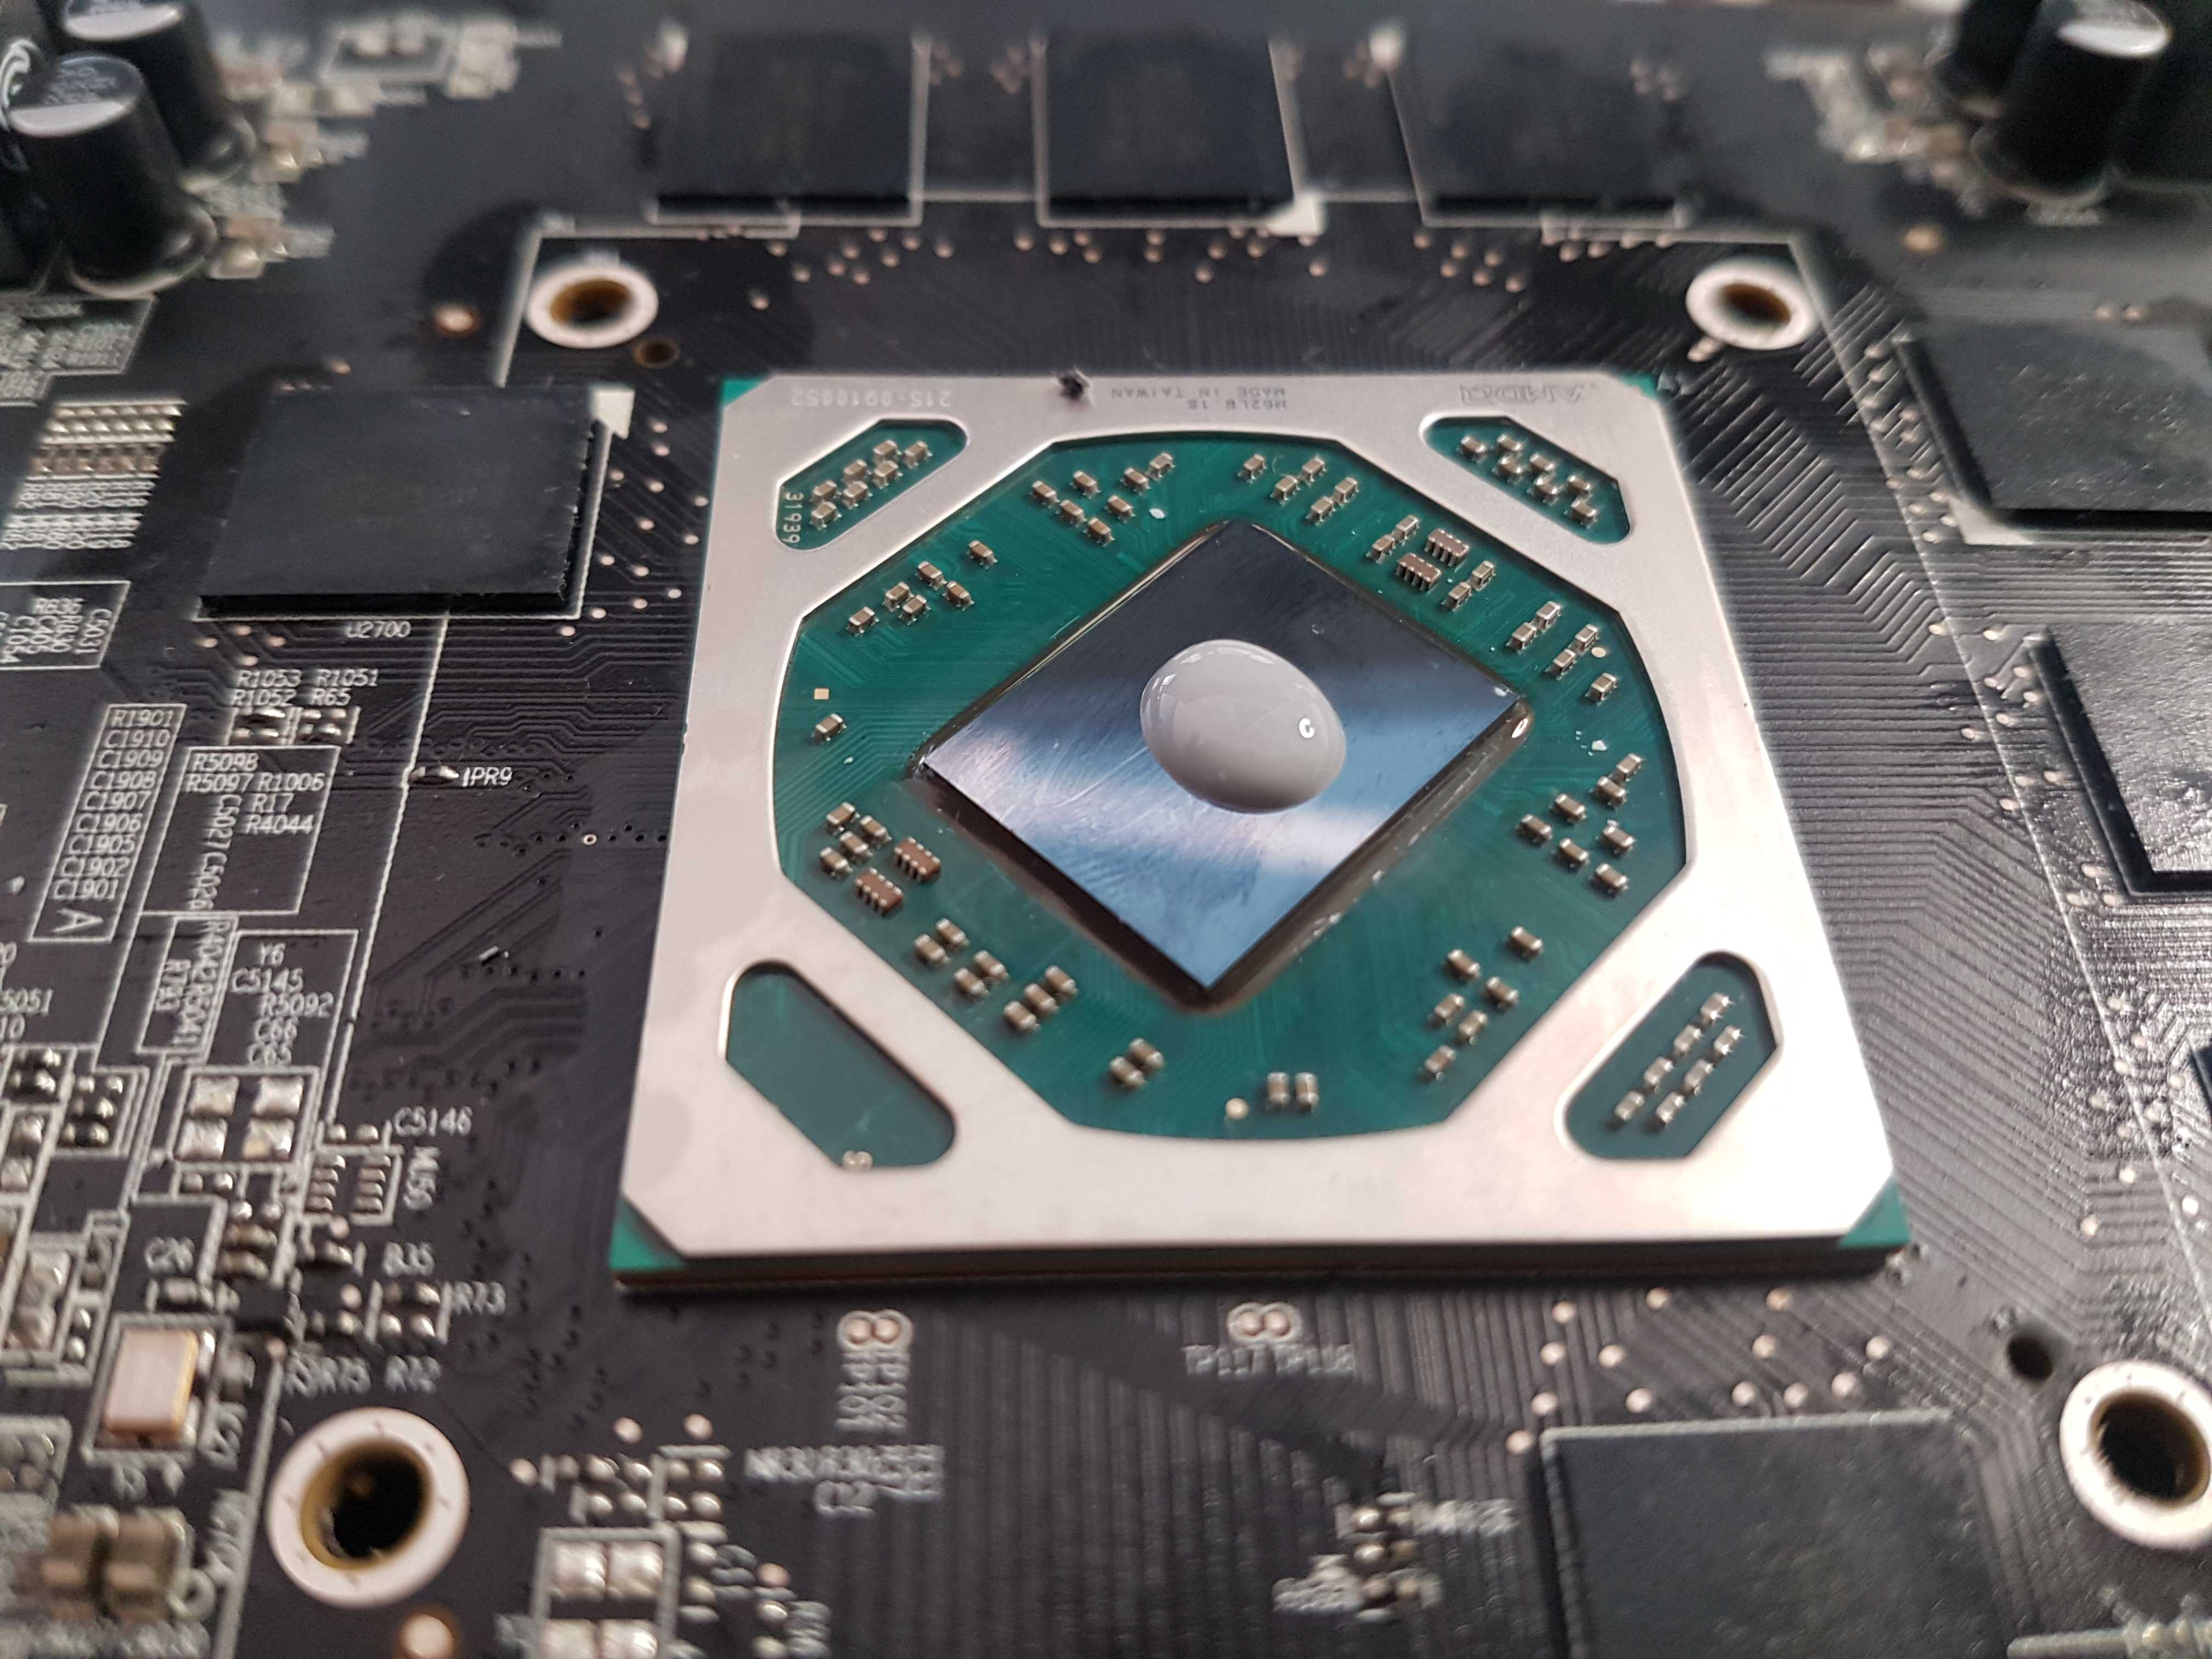
3. Applying new thermal paste
When applying the paste, you should apply it in the middle of the chip. There should be just the right amount that when the heatsink squeezes the paste, it gets distributed over the whole chip.
- Apply the right amount - about the same as two rice grains. Check the picture below.
- Apply it in the middle of the GPU chip only. The paste will be distributed when you put the heatsink on top.
4. Reassembly
When reassembling carefully place the heatsink on the GPU. Make sure that all the screws holes on the heatsink are placed above the board holes.
- Place the heatsink on the GPU.
- Connect the fan cable and place the GPU cover with the fans on the board.
- Screw everything together.